
How to share Final Cut Pro X Libraries in network using NFS
/Unlike Final Cut Pro 7 Projects, Final Cut Pro X libraries cannot be opened or saved to an AFP or SMB share point. It needs to be on a local storage or on a San. Using a San ( Xsan or metaSAN ) is more complex and requires a bigger budget for postproduction companies with only a few edit suites.
Locally mounting sparse images that reside on the server is an older workaround which is well documented, but has disadvantages.
An other option is to use NFS as a file sharing protocol as pointed out by Amanda Burns at Florida Atlantic University and Bob Zelin.
NFS ( Network File System ) is a file sharing protocol allowing a user on a client computer to access files over a network much like local storage is accessed. It is build into every Mac running OSX as it is one of the building blocks of UNIX.
Setting up the server side will normally require advanced command line skills.
But with NFS Manager from Marcel Bresink you can configure everything through a convenient user interface. You also don’t need OSX Server, so any Mac can be used as an NFS Server. On the client side you don’t have to install the Bresink software.
Let's dive into it:
With NFS, there is no login or authentication system. The way to limit access is to define an IP subnet or a list of IP addresses that can access the NFS server. We need to designate witch user-id will be used when creating or modifying files. This means that all client computers will use the same user-id to access the server. In a small setup it is probably not a problem.
For security and performance we could consider connecting the edit stations to a separate ethernet switch with an 10GB uplink to the server.
In this example we made a user called fcp on the server, which will be used for that purpose . If you would access the fileserver via SMB or AFP protocols you should also login with that same user.
Our Setup:
Server Mac mini with OSX Mavericks 10.9.2 and a fast external RAID disk; Client MacBook Pro with Mavericks 10.9.2; Gigabit Ethernet Switch; Final Cut Pro X 10.1.1; NFS Manager 3.9 ( witch offers full support for OS X Mavericks )
Steps:
Download the NFS Manager application at www.bresink.com.
You can evaluate the application in demo mode without functional restrictions. It only costs 17,85€. On the homepage there is a warning about Mavericks, but to my experience version 3.9 works fine.
After download, move the application to your Applications folder or Utilities folder.
Before starting NFS Manager, check the System Preferences
Go to Sharing
Give the server a 'normal' Computer Name. Avoid spaces in server names and disk names.
Here our server is called videoserver and will be found on the network as videoserver.local
Go to Network
In our example, we added a additional thunderbolt ethernet adapter to double the bandwidth when using multiple clients. I's better not to use DHCP, but manually define the ethernet address of the build in ethernet and the thunderbolt ethernet adapter. Your IP addressing range will probably be different.
Go to Users & Groups
Besides the admin user, we recommend making a second user ( here fcp ) for normal use. In Login Options, set this user to login automatically when the server is started. This way the fcp user can also view and use the files on the shared volume, and will be also the user-id that network clients will use. If you have a small setup of 2 or 3 computers, the server can also be used as a normal editing station this way.
Go to Sharing
If you also need file sharing for machines that don’t use FCPX, you can activate the normal File Sharing. In this example our volume RAID, is also be shared using AFP and SMB, and is accessible using the fcp as login. The AFP en SMB file sharing is optional and not needed for the NFS sharing.
Launch NFS Manager
It will tell you the software runs in Demonstration Mode. This will disappear once you bought the application. Ignore the warning about DNS.
Go to Share Definitions and press the + icon
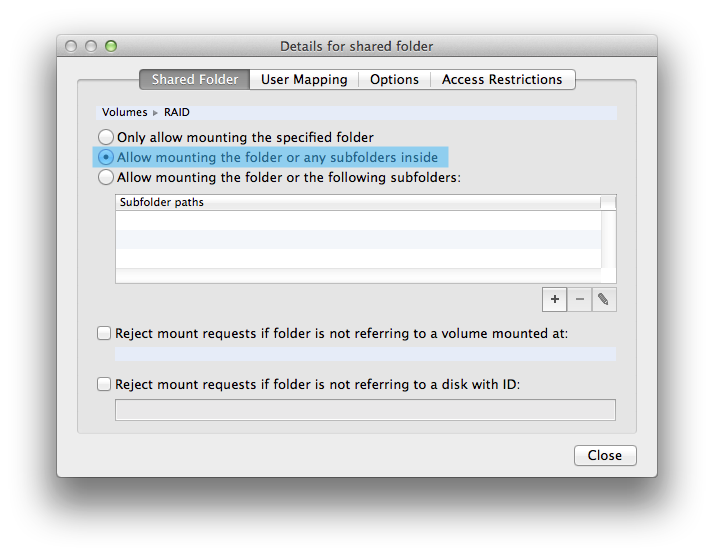
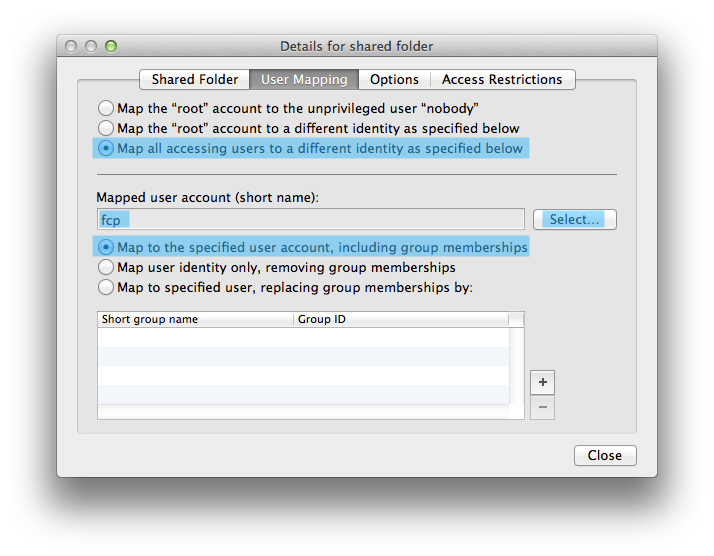
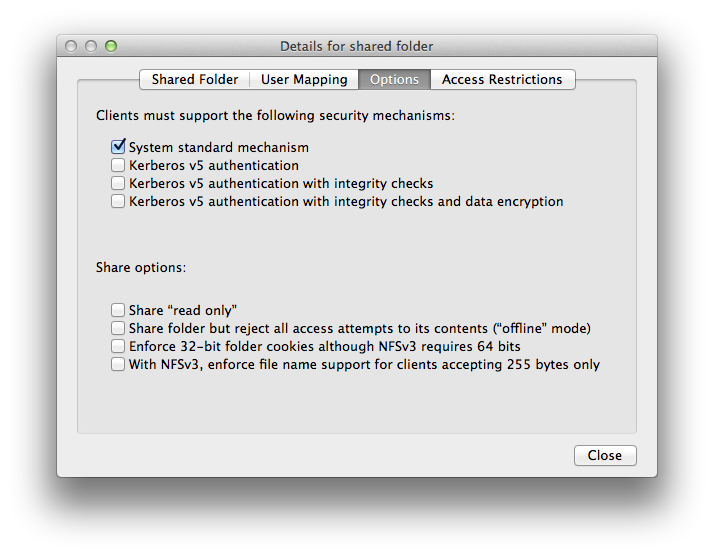
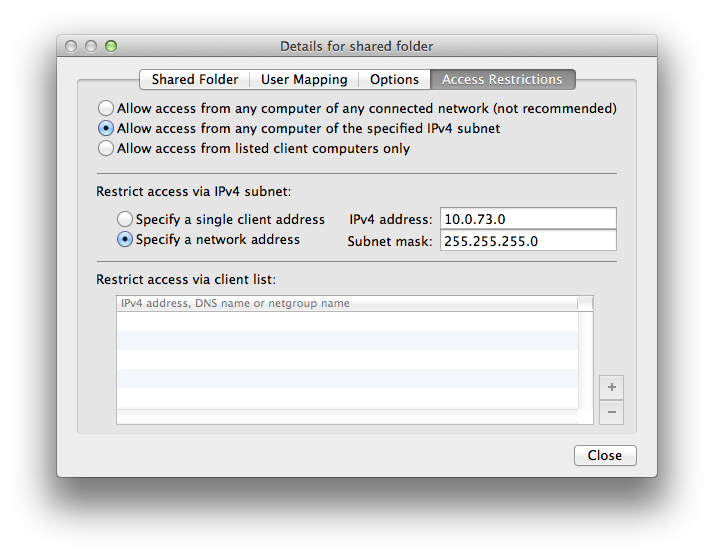
Press the Select button to select the volume of folder you which to share, than change also the other settings as indicated.
Click on Show advanced options and change the settings as indicated
Close and the click on Apply.
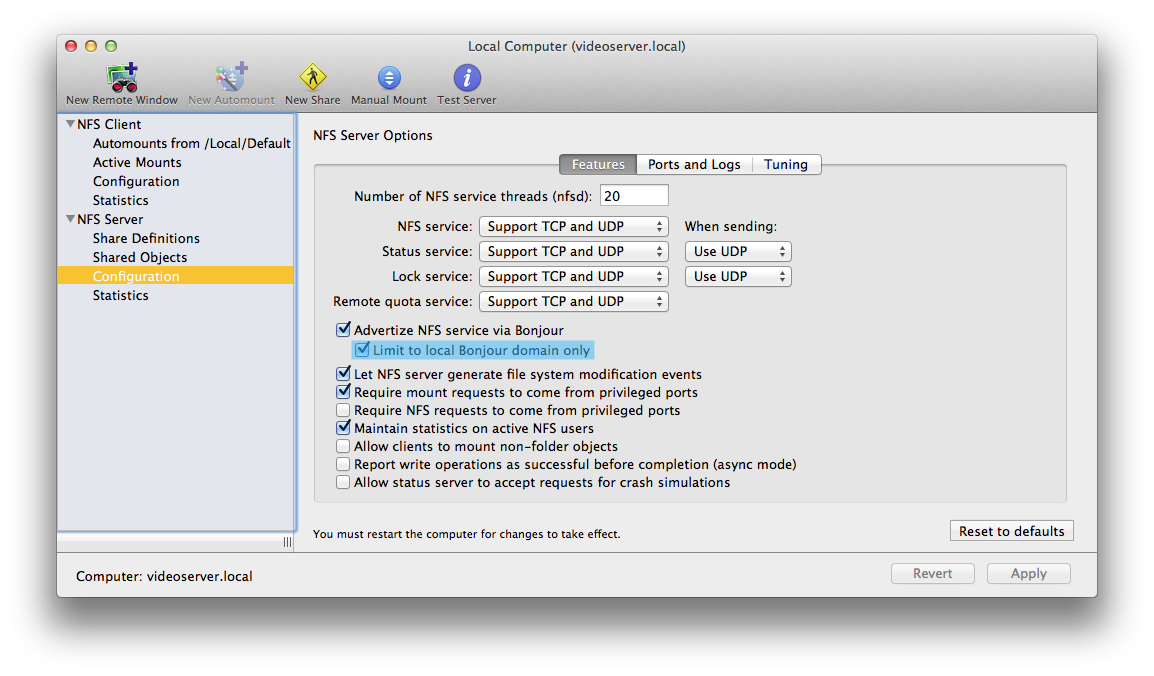
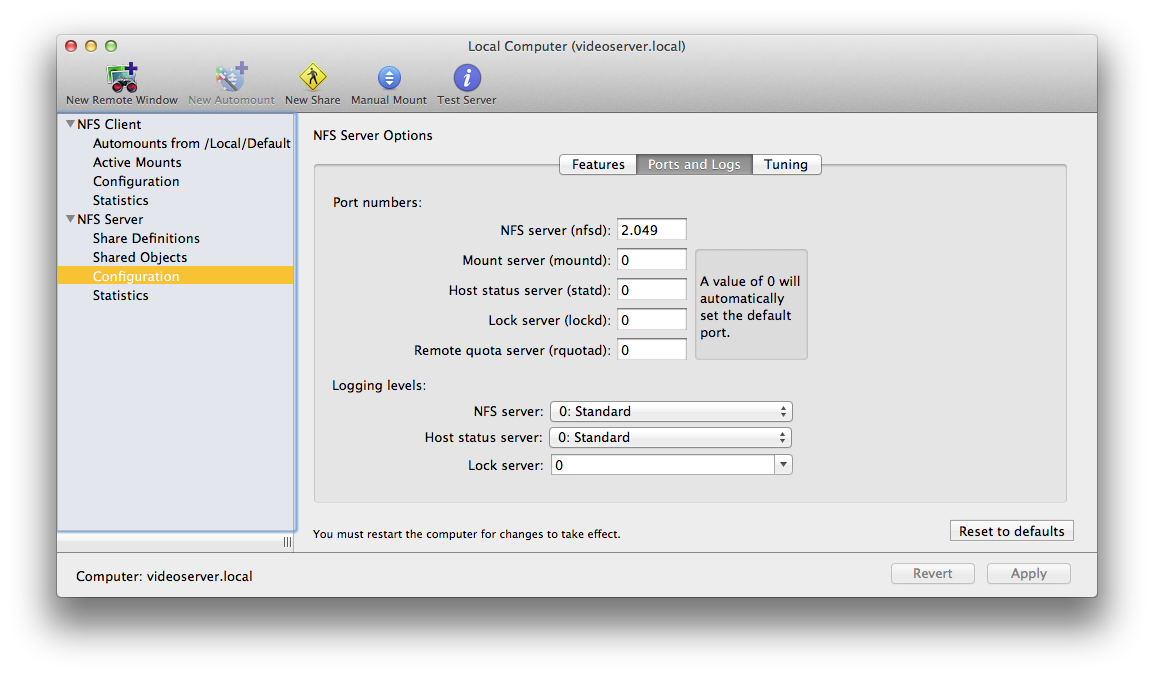
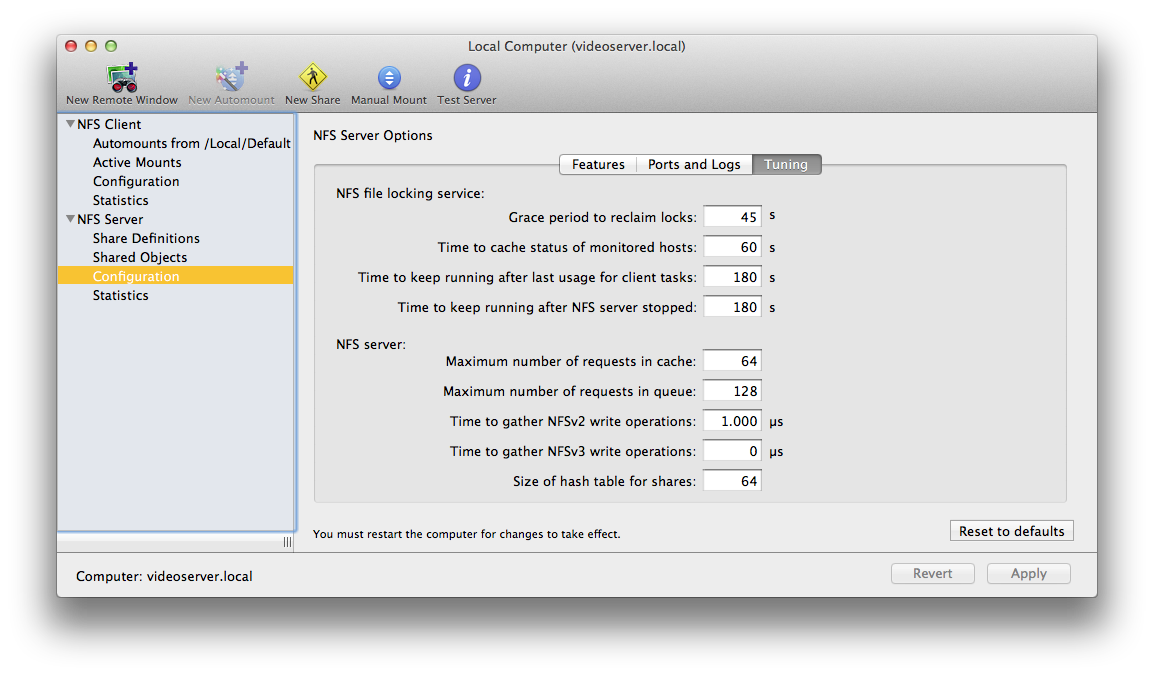
Now the setup is done, you could check your other settings as below, but standard values will be good. If there is nothing in Shared Objects, reboot the mac and recheck in NFS manager.

Quit NFS Manager, setup of the server is done!
If you reboot the mac all values should still work.
Go to your client computer
In this case their IP address should be in the network segment 10.0.73.xxx
To connect to the server go to Finder, menu Go, Connect to Server and enter nfs://videoserver.local/Volumes/RAID
If you have a server with a fixed IP, you could enter in our example nfs://10.0.73.202/Volumes/RAID or if you want to use the second ethernet port, use nfs://10.0.73.203/Volumes/RAID
Click connect and its done... Use the + to keep a list of the servers.
For easy access to your NFS server : in finder, menu Go, Computer, and drag an alias of the NFS share to your desktop, and perhaps to your sidebar as a favorite.
That's it, you can start editing.
If it doesn't work or you need somebody to help you to set it up in your setup we can probably help you, it's our daily job as an Apple Authorised Reseller and Integrator.
